Tutorials
Short, step-by-step guides. Each one takes a minute or two to read.
 Schedule a show with Sae 冴え™Tell Sae about your show in a sentence; she sets it up and designs the thumbnail.
 Invite guests and put them on screenSend the link, let them in, bring them on stage with their names.
 Banners, logos and name cardsAsk Sae for a banner, pick its shape, and put your logos in the corners.
 Plan the show with Sae 冴え™A running order of one-tap steps, drafted for you.
- Go live on YouTube, or just recordConnect your channel once, then one button.
 Record a green-screen classTeach in front of your slides or Manch board, with the room behind you removed.
- Common questionsWho hears whom, muting guests, backstage, guests abroad and dropped connections.
Schedule a show with Sae 冴え™
Sae is the assistant in your studio. Tell her about your show in your own words, the way you’d tell a colleague, and she sets it up: the title, the YouTube description, the time and where it goes.
- Open Sae on the Sessions page. Her card is at the top: press ✨ Create a session. The first time, she says hello and tells you how she works: press Use Sae. (Rather fill in the details yourself? Press Not now, or + New session at the top.)
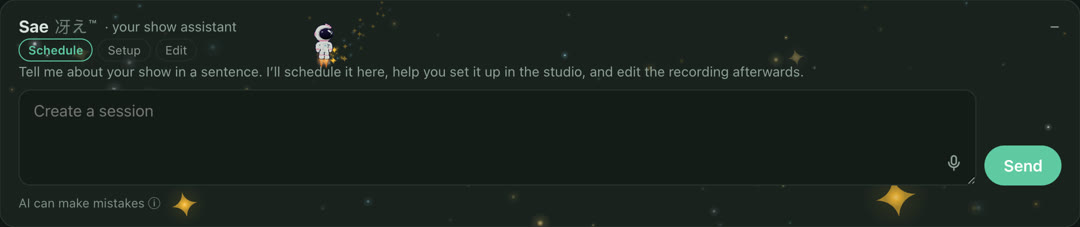
- Describe the show in a sentence. What it is, when, and who’s in it. For example: “Our science fair prize-giving, Saturday 11 am, with Riya and her teacher.” Sae asks only for what’s missing, with answers you can tap. You can also speak instead of typing: press the mic in the box.
- Check the preview. Sae writes the title and the YouTube description; change them freely. Check when it is, where it goes live, whether it’s public or unlisted, and its shape: landscape, vertical, or landscape with a vertical copy for Reels and Shorts. Then press Create this session.
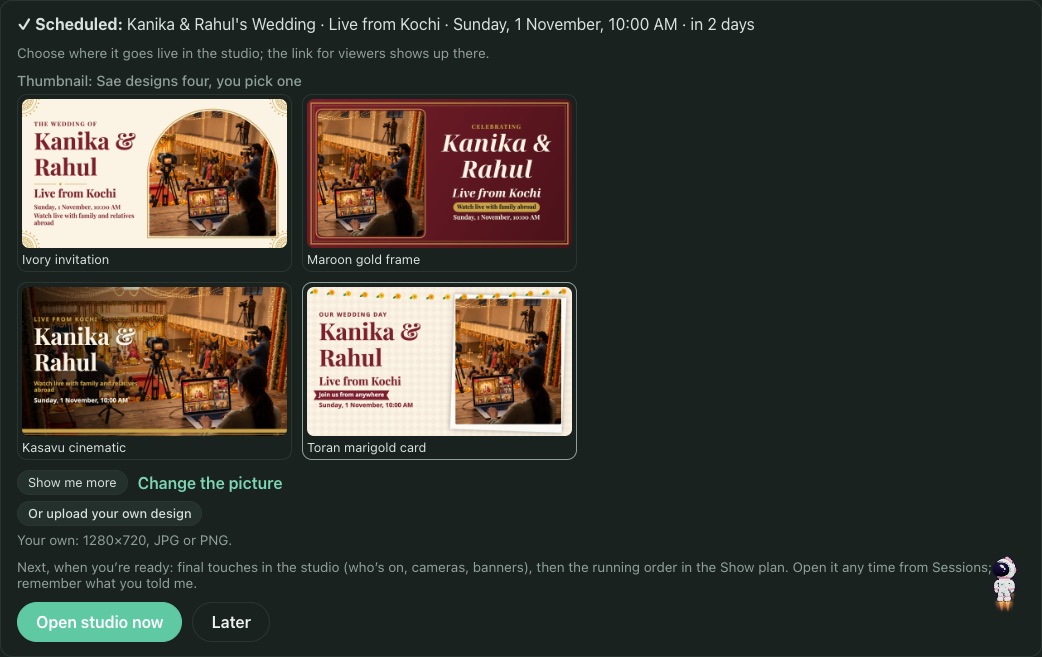
- Pick a thumbnail. Give Sae a photo and she designs four thumbnails with your show’s words; tap the one you like, or press Show me more. Have your own design? Press Or upload your own design (1280×720, JPG or PNG).
Four designs from one photo. Tap one to use it; it goes to YouTube too. - Open the studio now, or later. Press Open studio now to set it up, or Later. Sae remembers what you told her and carries on when you open the studio.
Invite guests and put them on screen
Guests join from their phone or laptop with a link. They don’t need an account or an app.
- Send the link. In the studio, press Invite guest at the top right, then Copy invite link (to paste into an email or message) or Send on WhatsApp. Camera phones at a venue join with the same link.
- Your guest joins backstage. They open the link, type their name and join. They can see and hear the studio, but viewers can’t see them yet.
- Let them in and bring them on. When they arrive, press Let in, then Add to stage when you want them on screen. Sae also tells you when someone joins, with a button to bring them on.
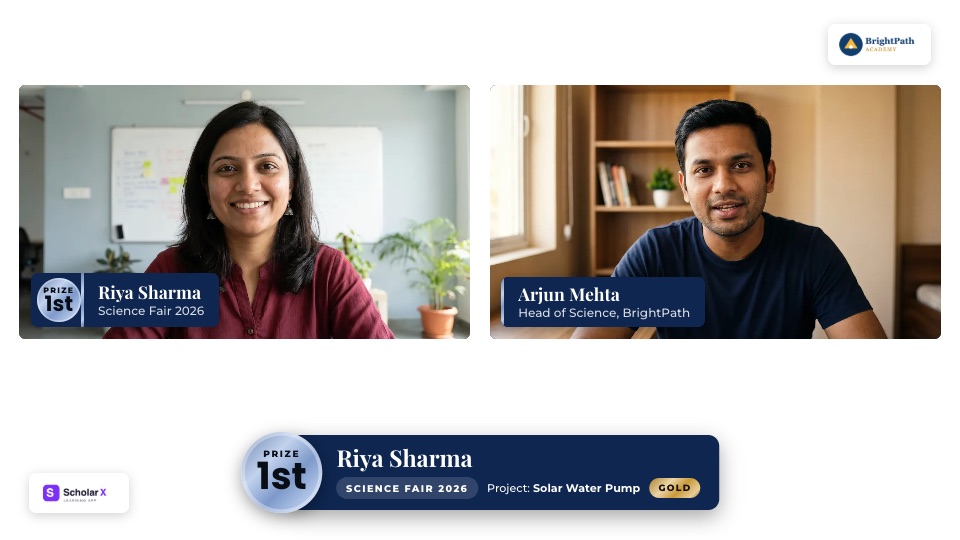
- Show their names. In Overlays → Names on screen, choose Show names. If Sae set up the show, each person gets a name card with their line, in your show’s colours, and a prize or result they mention can show as a small medal.
Name cards match the show’s banner and colours.
- To change how a name is written, rename the person in the People list.
- A guest on weak Wi‑Fi? Sae tells you, and the video adjusts by itself.
Banners, logos and name cards
Banners are short messages on screen: a welcome, a phone number, an offer, or a moment worth celebrating. Sae makes them for you in your show’s colours.
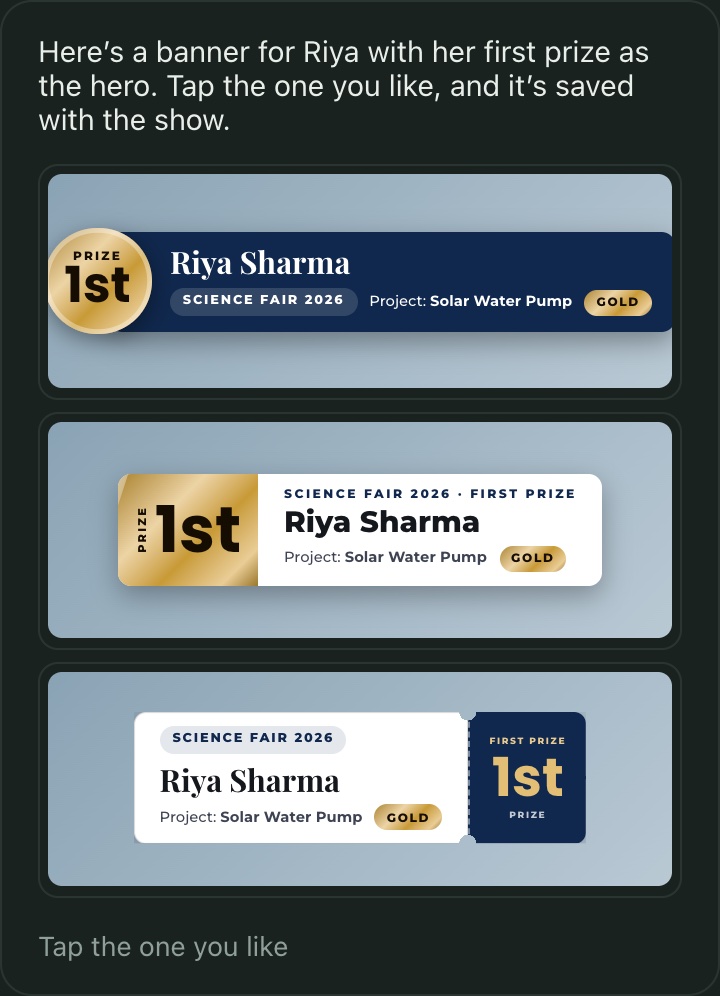
- Ask Sae for a banner. In the studio, open Sae at the bottom right and type what it should say, for example: “A banner for Riya: first prize, Science Fair 2026, for her Solar Water Pump.” When one fact deserves attention, like a prize or a milestone, she makes it the hero of the banner, not just bigger letters.
- Tap the shape you like. Sae shows it in three shapes, such as a medal, a gold slab or a ticket. Your pick is saved with the show.
- Put it in the Show plan. Press Add to Show plan. During the show, one tap on that step shows the banner. You show and hide things from the Show plan, so there’s one place to run the show.
- Add your logos. Tell Sae where they go (“our logo top right, the partner’s bottom left”) and upload each one with the button she gives you. Or open Overlays → Logos and tap a corner.
- Plate or no plate. Under each logo, choose On a plate, a soft white box that reads on any video, or Just the logo for a PNG with a see-through background.
- A banner at the bottom stays centred, and moves aside only if it would touch a logo in a corner.
- Want to leave something out, like a plan or a date? Tell Sae, and the banner closes up without it.
- A designer made your graphics? Ask Sae to add their design: she gives you an upload button. It must be the video’s size (1920×1080 for a landscape show).
Plan the show with Sae 冴え™
The Show plan is your running order: one tap per moment, and each step can do several things at once, like change the layout, show a banner and turn names on.
- Ask Sae to plan it. In the studio, open Sae at the bottom right and type “Plan my show”, or tap Plan the show with me in her steps. Add the moments you have in mind if you like: “the couple arrives, the mandap, blessings from family, and a thank-you”.
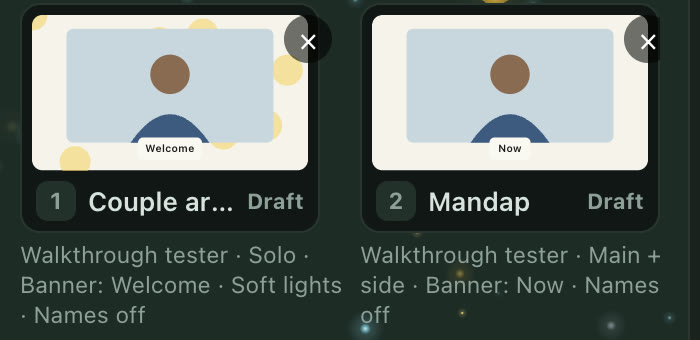
- Look over her draft. Sae drafts three to five steps straight away from what she knows about your show, each with a small picture of how it will look. Swipe sideways to see them all.
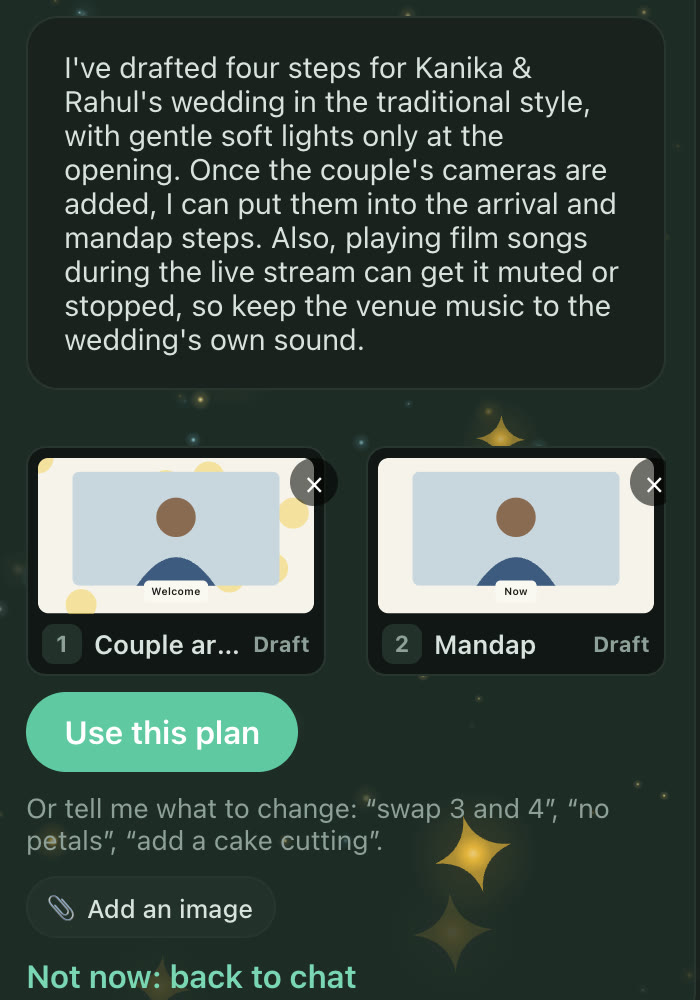
A draft for a wedding. Each card is one tap during the show. - Change it by step. Each card has a number: tell Sae which step and what to do. “In step 2, add confetti”, “Remove the banner from step 1”, “Add a step after step 3: cake cutting”, “Swap steps 3 and 4”. Remove a step with its ×. When it looks right, press Use this plan.
- During the show, tap each step when its moment comes. You can also add steps yourself with Add step, and change any step later.
Go live on YouTube, or just record
- Connect your YouTube channel once. Press Go live at the top right, then + Connect YouTube or another channel → ▶ Connect YouTube channel, and sign in with the Google account that owns the channel. It’s saved for every session after that.
- Go live. Press Go live, tick where it goes, choose who can watch on YouTube (Public, Unlisted or Private), and press Go live. Your show is also recorded in Manch Live.
- End it. Press End stream when you’re done. The recording is under Recordings.
- Just recording? For a class or a podcast that doesn’t go live, the button is ● Start recording; nothing goes to YouTube. Press Stop recording when you finish, and download it from Recordings.
- Playing film songs in a live stream can get it muted or stopped on YouTube.
- Going live to Instagram or Facebook too? Connect them the same way, under + Connect YouTube or another channel.
- Sending it into a Zoom webinar (Zoom Events or Webinars Plus)? Add it the same way with Zoom webinar, and once you are on air click More → Incoming live stream → Send live in Zoom.
Record a green-screen class
Teach in front of your slides or your Manch board, with the room behind you removed. You need a green cloth and a laptop with a camera. Any green cloth will do: Manch checks it for you.
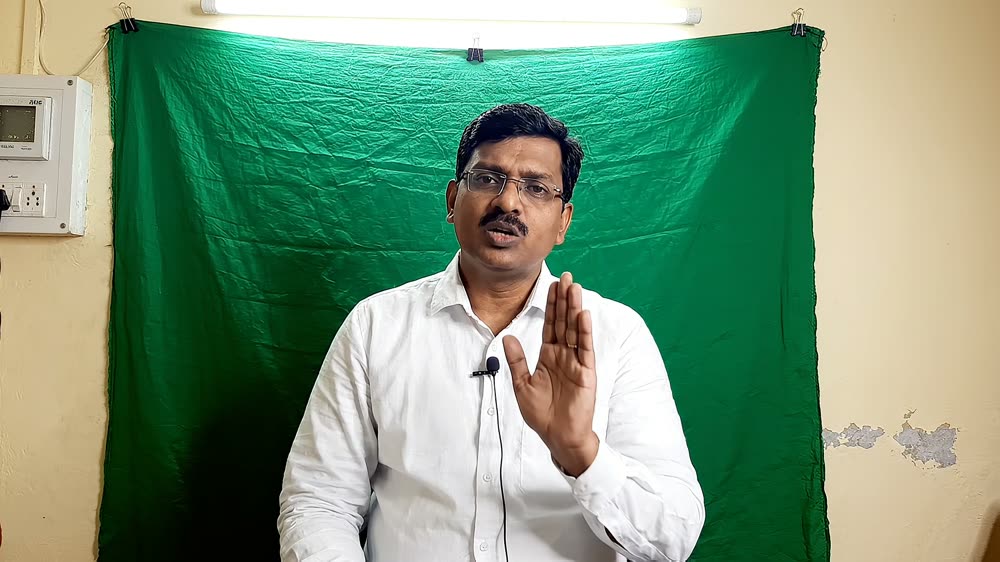
- Hang a green cloth behind you. Any plain green cloth or bedsheet. Sit or stand a step in front of it, with your light on you rather than on the cloth. Avoid green clothes.
- Open your session and turn your camera on. Press Camera on, then Join stage.
- Show your slides or your board. Press Share screen and pick your slides. Teaching from a tablet? Under People, press + Add a device → Manch board, scan the code with the tablet and write with your pen. Then, in Slides & screen, choose ✏️ Board.
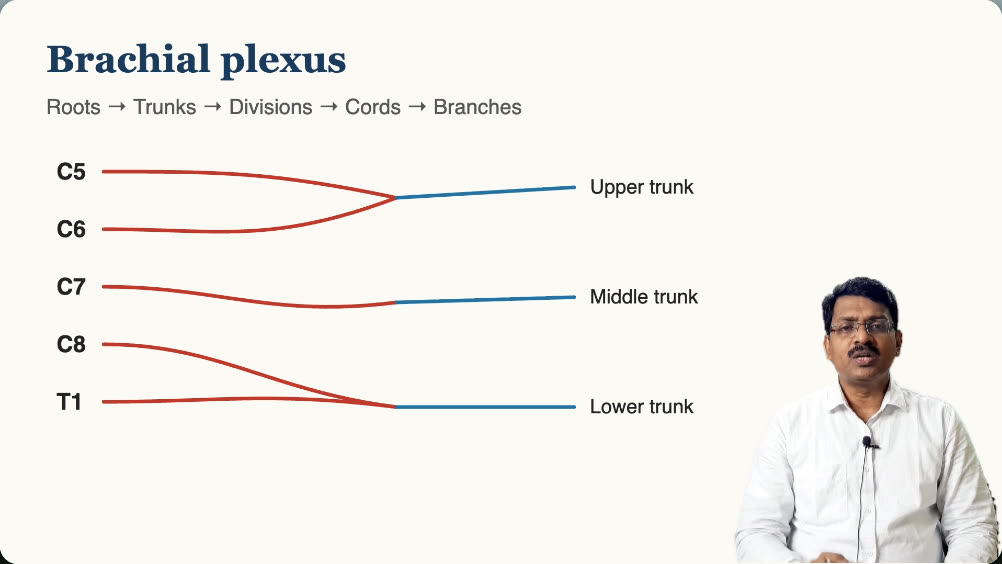
- Choose Green screen. In the class layouts under the stage, pick Green screen. You appear cut out in the bottom-right corner, over your slides. Manch finds your cloth’s colour and moves you right into the corner, so you don’t cover your slides.
- Press Start recording (or Go live). When you finish, the recording is under Recordings.
What if my cloth isn’t perfect?
At home, a cloth rarely covers the whole wall, and a tube light leaves bright and dark patches. That’s fine. In the first few seconds Manch checks your cloth, and if it isn’t enough on its own, it also uses AI to clean up the background. There’s nothing to set.
See it before you start
Open Camera & mic settings → Set up → Green cloth. You’ll see yourself over your slides, and one line telling you how your cloth looks.
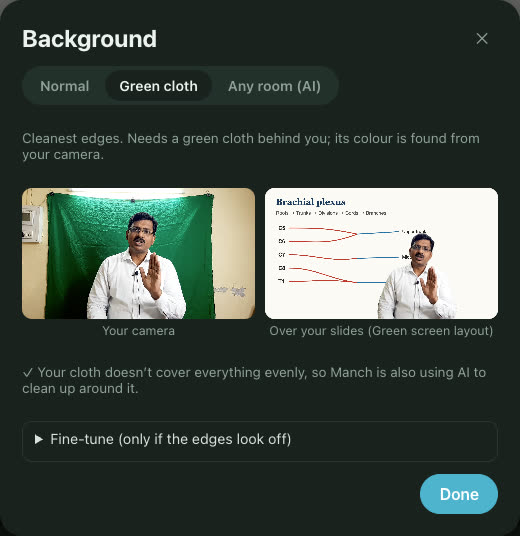
- With a good cloth, a book or model you hold up stays in the picture. When Manch uses AI to help an uneven cloth, things you hold may be removed with the background.
- Sitting down? A chair with a tall back can show beside your shoulders. Use a chair with a low back, or sit a little forward.
- No cloth at all? In the same window, choose Any room (AI).
- Want yourself somewhere else? In Slides & screen, drag yourself on the stage preview.
Common questions
Who can hear whom in the studio?
Everyone in the studio hears each other: you, the guests on stage and the guests backstage. Viewers hear only the people on stage. So you can chat with your next guest before bringing them on, and viewers won’t hear it.
Why can’t anyone hear my guest?
Guests join with their mic off. Ask them to tap Unmute, or in People press Ask to unmute next to their name: they get a button on their screen. The small bar next to their name moves when they talk.
Can I mute a guest?
Only the guest can turn their own mic on or off. If someone is noisy, press Send backstage: their mic turns off by itself. Or press 💬 Message to ask them privately; only they see it.
What happens when I send a guest backstage?
They leave the screen and their mic turns off by itself, so a cough or a side chat doesn’t reach the people on stage. They can still see and hear the studio, and can unmute to talk to you. Viewers can’t see or hear them.
Does a phone camera pick up sound?
A phone added as a camera sends only its picture, unless you turn its mic on with the 🔇 Mic off button on the phone. It never plays the studio’s sound, so it can’t cause an echo. When it goes backstage, its mic turns off.
Can guests join from other countries?
Yes, from anywhere. Across long distances the voice arrives about a quarter of a second later, like an international phone call, so leave a small pause before replying.
What if a guest’s internet drops?
Everyone else carries on as normal. When the guest’s internet comes back, they reconnect by themselves, usually within half a minute. If they closed the page, they open the same link again and you press Let in.
My guest is on an office or school network. Will it work?
Usually, yes. Some office and school networks block video calls; Manch Live then connects another way by itself. If it still won’t connect, ask them to try their phone’s mobile data.
Is the sound from a shared screen heard?
Yes. When your browser asks what to share, pick a tab and leave Also share tab audio on: everyone in the studio hears it, and viewers hear it while the screen is on stage. For a video, sharing the tab it plays in works on every computer.